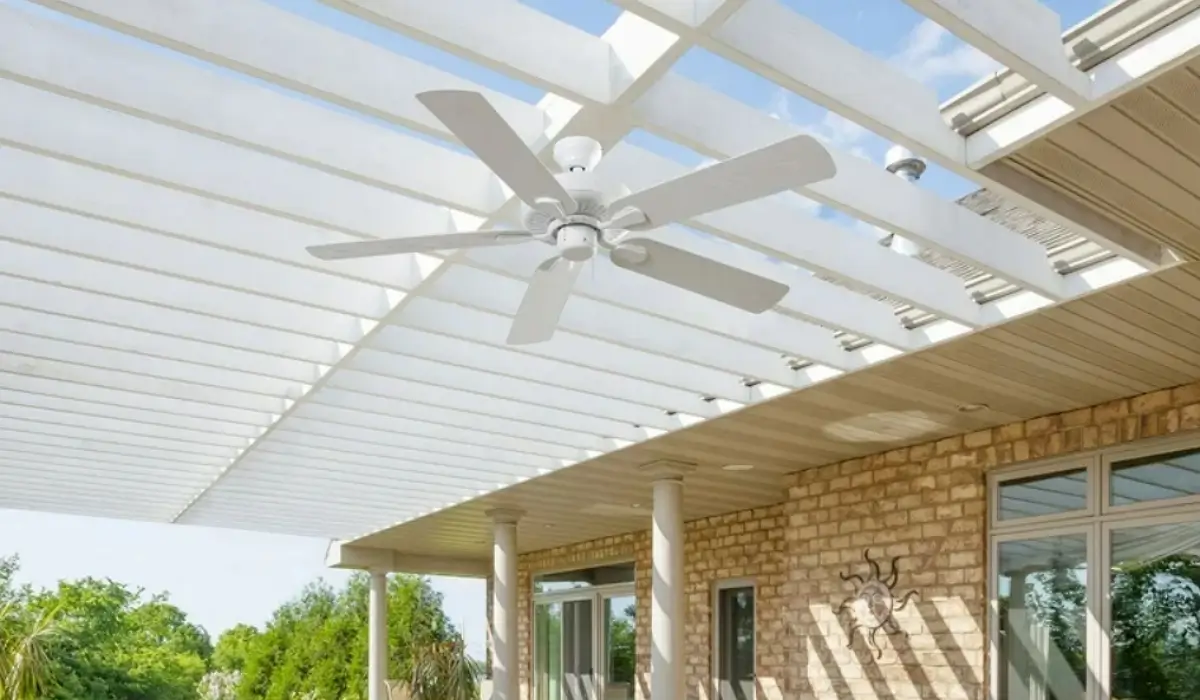
Installing a ceiling fan in your gazebo can significantly enhance your outdoor comfort by providing cooling airflow and adding a touch of style. However, proper installation ensures safety, stability, and optimal performance. This guide offers a comprehensive overview of installing a gazebo ceiling fan, tips, tricks, and recommendations on sizes, models, and reputable manufacturers.
1. Choose the Right Size and Model
Gazebo Size Considerations:
- Small Gazebos (up to 100 square feet): Opt for a fan with a blade span of 29-36 inches.
- Medium Gazebos (100-200 square feet): Look for a fan with a blade span of 36-42 inches.
- Large Gazebos (over 200 square feet): Choose a fan with a blade span of 50 inches or more.
Selecting the right size ensures efficient air circulation and prevents the fan from overpowering the space.
2. Gather Necessary Tools and Materials
Tools:
- Ladder
- Screwdriver (Phillips and flat-head)
- Drill with bits
- Wire strippers
- Voltage tester
- Pliers
- Wrench
Materials:
- Ceiling fan with mounting hardware
- Electrical box rated for ceiling fan support
- Wire nuts
- Electrical tape
- Mounting bracket
- Downrod (if needed)
3. Ensure Safety Precautions
Turn Off Power:
- Turn off the power to the pavilion at the circuit breaker to avoid electrical shocks during installation.
Check Structural Support:
- Verify that the pavilion’s structure can support the weight of the ceiling fan. For stability, the fan should be mounted to a beam or joist.
4. Install the Electrical Box
Select the Right Box:
- Use an electrical box rated for ceiling fan support. Standard electrical boxes may not be able to support the fan’s weight and movement.
Mount the Box:
- Secure the electrical box to a sturdy part of the pavilion’s structure. Ensure it is firmly in place and can handle the fan’s weight.
5. Assemble and Mount the Fan
Assemble the Fan:
- Follow the manufacturer’s instructions to assemble the fan. This typically involves attaching the blades and light kit, if included.
Install the Mounting Bracket:
- Attach the mounting bracket to the electrical box. Ensure it is secure and level.
Attach the Downrod:
- If using a downrod, attach it to the fan motor. Thread the wires through the downrod and secure it tightly.
Mount the Fan:
- Hang the fan on the mounting bracket. Most fans have a hook or temporary support to hold the fan while you make the wiring connections.
6. Wire the Fan
Connect the Wires:
- Match the wires from the fan to the corresponding wires from the electrical box: typically black to black (hot), white to white (neutral), and green or bare copper to ground. Use wire nuts to secure the connections and wrap them with electrical tape for safety.
Secure the Connections:
- Carefully tuck the wires into the electrical box. Ensure no wires are pinched or exposed.
7. Complete the Installation
Attach the Fan to the Bracket:
- Secure the fan to the mounting bracket with the provided screws. Ensure all screws are tightened properly.
Install the Blades:
- Attach the fan blades to the motor using the screws provided. Ensure they are securely fastened and balanced.
Install the Light Kit (if applicable):
- Follow the manufacturer’s instructions to attach and wire the light kit. Install the light bulbs and any covers or shades.
8. Test the Fan
Restore Power:
- Turn the power back on at the circuit breaker.
Test the Operation:
- Use the fan’s remote control or wall switch to test its operation. Check all speed settings and the light (if applicable) to ensure everything functions correctly.
Tips and Tricks for Installation
- Use a Helper: Having an extra set of hands can make the installation process easier and safer.
- Check for Balance: If the fan wobbles, use a balancing kit to adjust the blades and ensure smooth operation.
- Regular Maintenance: Periodically check the fan for loose screws or connections and clean the blades to maintain performance.
Recommended Manufacturers
Choosing a fan from a reputable manufacturer ensures quality and reliability. Here are some well-known manufacturers of gazebo ceiling fans:
1. Hunter Fan Company:
- Known for high-quality and stylish ceiling fans, Hunter offers durable models with advanced features suitable for outdoor use.
2. Minka-Aire:
- Minka-Aire provides a range of outdoor ceiling fans that combine performance and design, ensuring both durability and aesthetic appeal.
3. Emerson:
- Emerson fans are renowned for their durability and high performance. They offer various models suitable for outdoor use and have robust build quality.
4. Hampton Bay:
- Hampton Bay offers affordable and reliable ceiling fans designed for easy installation and use in outdoor spaces.
Installing a gazebo ceiling fan involves careful planning, using the right tools, and adhering to safety precautions. By following this step-by-step guide and choosing a fan from a reputable manufacturer, you can enhance your outdoor space with a functional and stylish fan. With the perfect ceiling fan installation, you can enjoy a cool and comfortable gazebo all year round!


